How to bootstrap feature flags in React and Express
May 02, 2023

On this page
Bootstrapping feature flags make them available as soon as React and PostHog load on the client side. This enables use cases like routing to different pages on load, all feature flagged content being available on first load, and visual consistency.
To show you how you can set up bootstrap feature flags, we are going to build a React app, add PostHog, set up an Express server to render our React app on the server-side, and finally bootstrap our flags from the server to the client.
Already have an app set up? Skip straight to the feature flag bootstrapping implementation.
Create a React app and add PostHog
Make sure you have Node installed, then create a new React app named client.
Once created, go into the new client folder and install posthog-js.
Next, get your PostHog project API key and instance address from the getting started flow or your project settings. Use them to set up a PostHog initialization in your index.js file.
Create and setup a feature flag
While we focus on PostHog, we can set up a feature flag to bootstrap later.
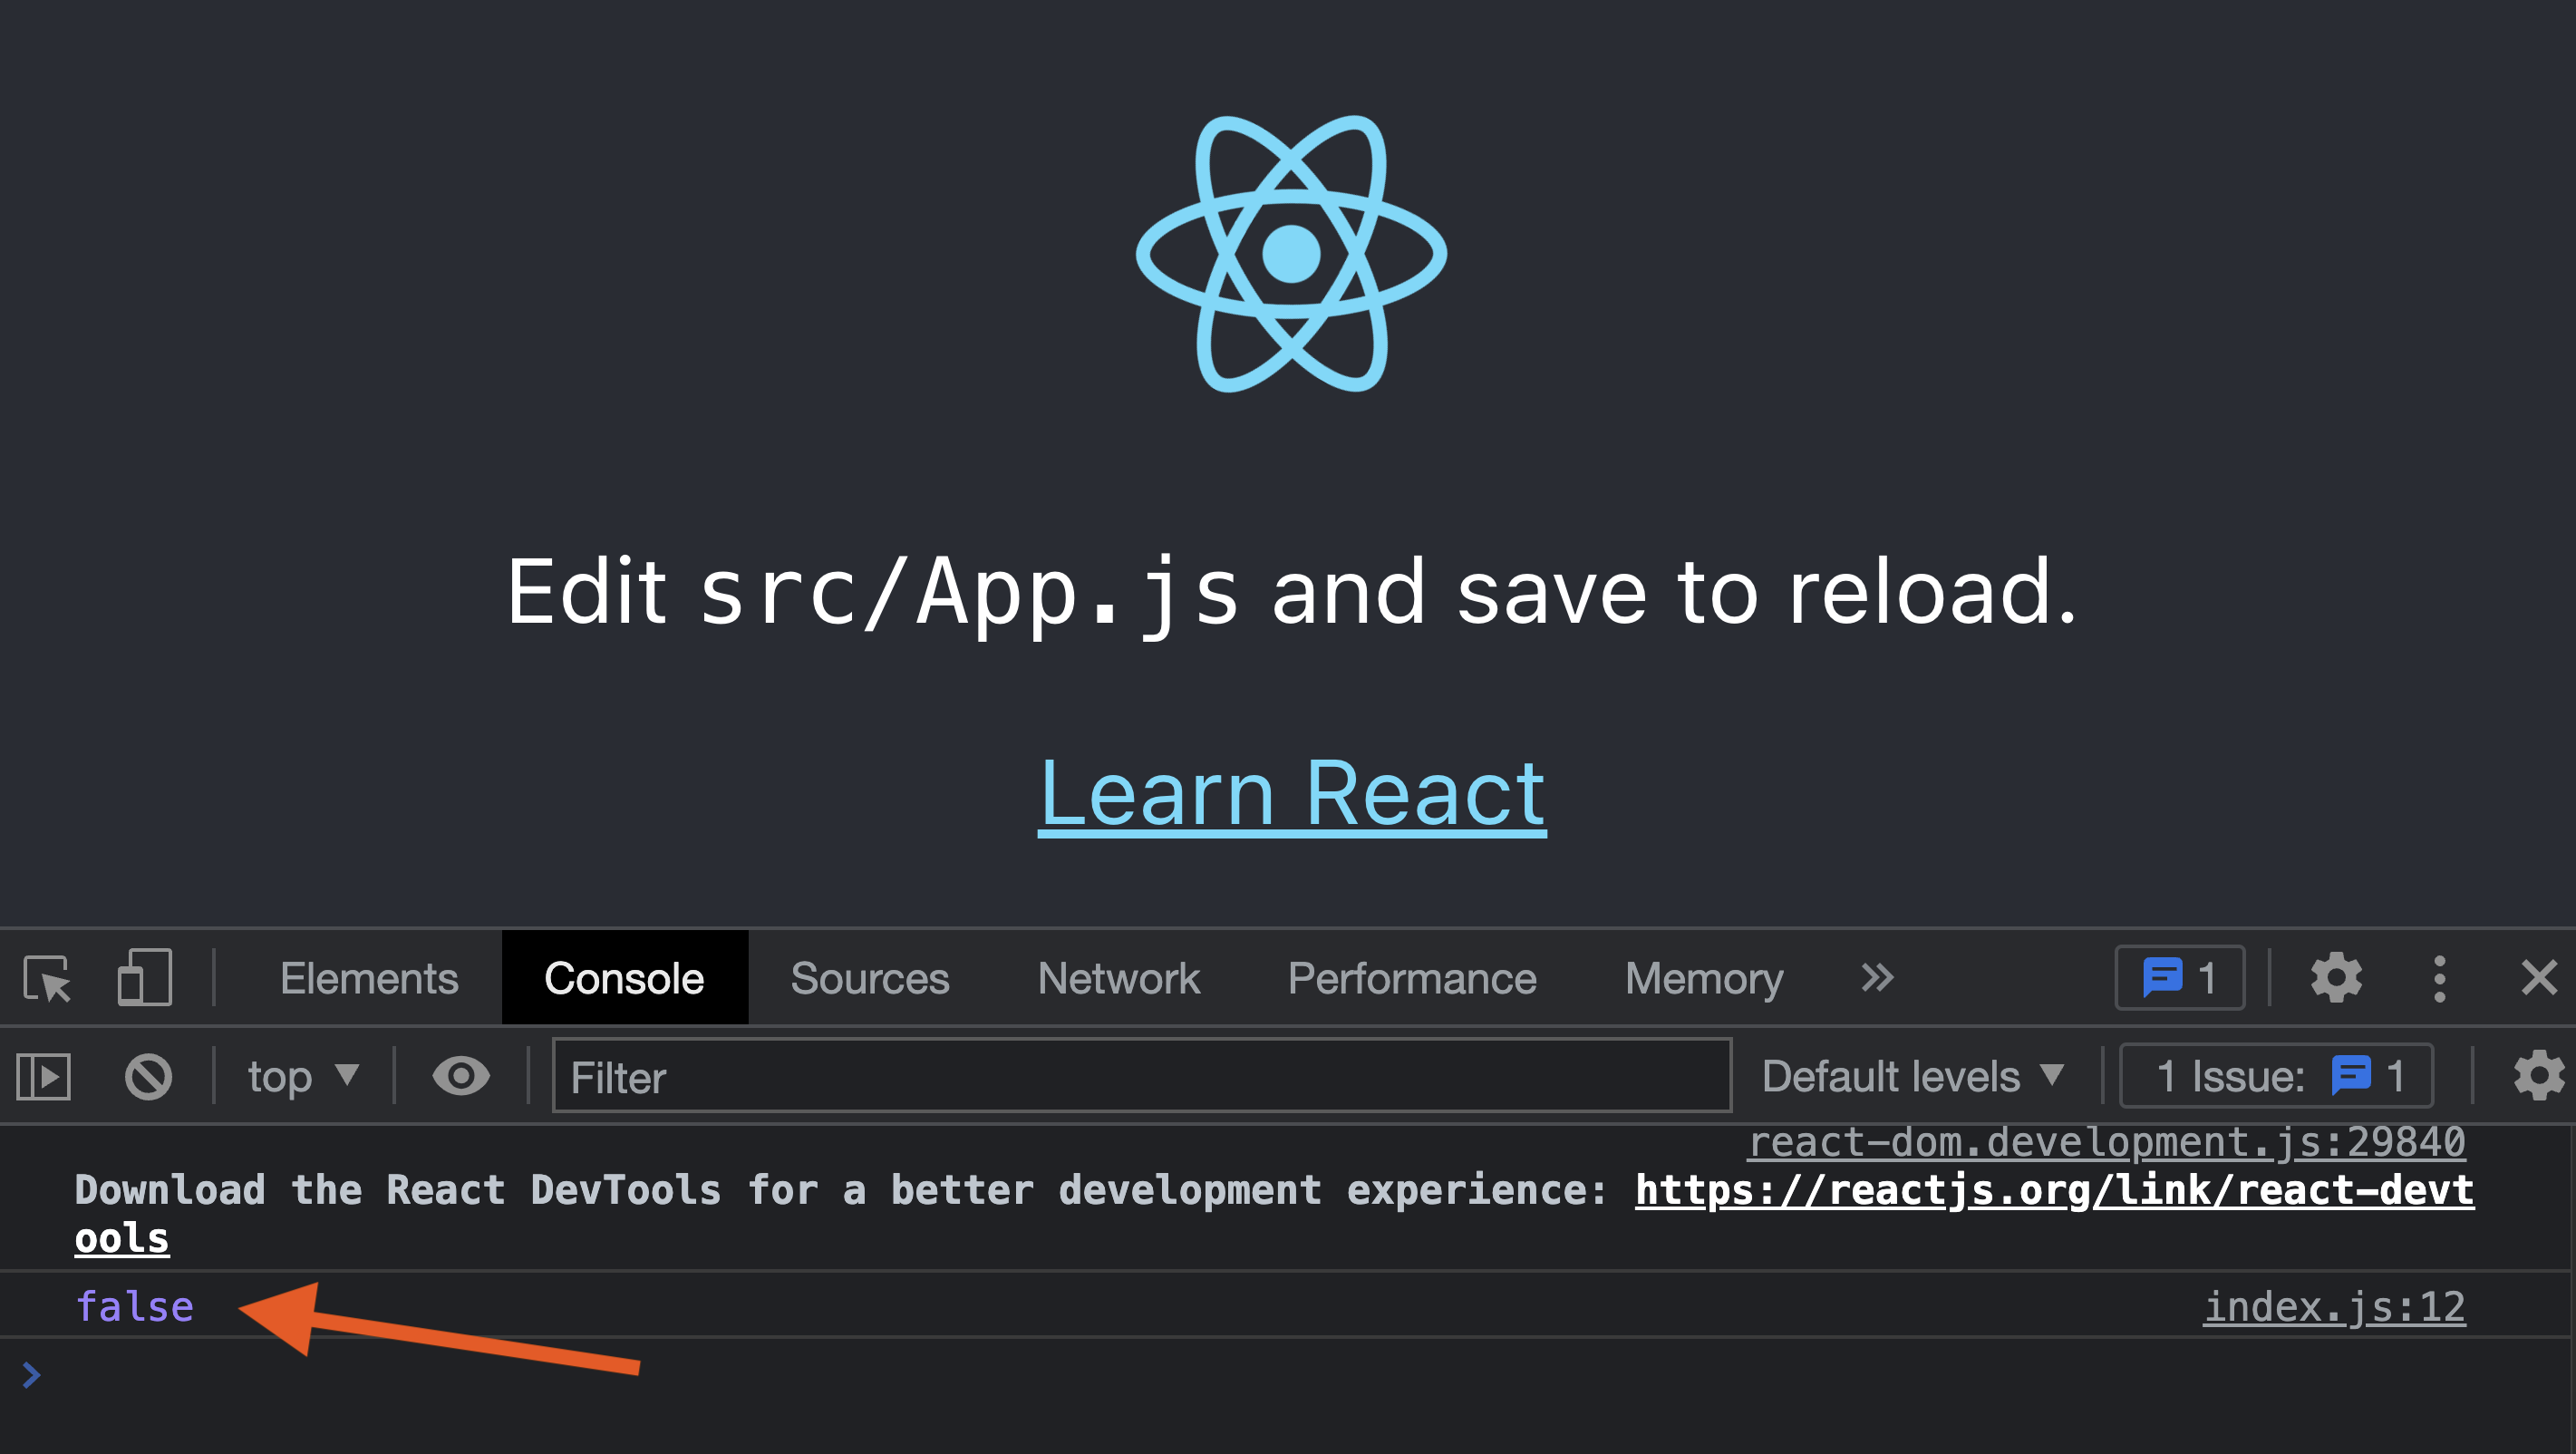
In the feature flag tab, create a new flag, set a key (I chose test-flag), set the rollout to 100% of users, and save it. Once done, you can check for your flag in the loaded() method on initialization like this:
This also gives us a chance to show why bootstrapping is valuable. On the first load of the site (before the flag is set in cookies), you see false in the console even though the flag should return true. This is because the flag isn’t loaded yet when you check it. This means the flag might not show the right code on the initial load for that user. Bootstrapping flags solves this.
Set up the React app for server-side rendering
To bootstrap our flags, we fetch the feature flag data on the backend and pass it to the frontend before it loads. This requires server-side rendering our React app. To do this, we set up:
- The bundler and build the React app.
- An Express server to get feature flag data from PostHog and serve the React app.
To start, install the package to compile, transform assets, and hot reload the server on file change.
After this, we make one more change to index.js to change ReactDOM.createRoot to ReactDOM.hydrateRoot.
Finally, build the client so we can serve it from the Express server.
Set up our server-rendering Express app
To start, create another folder named server in the client folder. Inside this folder, create an index.js file. In this file, we:
- Set up Babel.
- Import the packages for React, Express, and the file system.
- Set up an Express get handler for all routes that:
- Creates a React app from our built client code
- Reads the index file from the built client code
- Replaces the div root with our server-created React app
Once done, you can run the server with nodemon server and see your site in action (it looks the same).
Handle feature flags on the backend
To bootstrap the flags, first, we need the flag data from PostHog. To do this, we install posthog-node.
Next, set up a PostHog client in your server.js file with your project API key, instance address, and a personal API key you can create in your account settings. We need the personal API key to locally evaluate flags on the backend to make them as fast as possible.
Get or create a user ID
To get the feature flags, we need a distinct user ID. posthog-js automatically creates one once users visit, but that isn’t helpful for first-time users where posthog-js hasn’t loaded. What we can do is check for a user ID in the cookies of the request. If it doesn’t exist, we can create a UUID for use as one.
First, install the cookie-parser library.
Next, set it up for use in server.js. Make sure you call app.use() after initializing the app. We also add a way to create UUIDs for our distinct user ID.
In the get request below, check for the cookies (using our PostHog project API key). If a PostHog cookie exists, use the distinct ID from it. If it doesn’t, create a new UUID to use as their ID.
Add the flag data to the React component
With the user ID sorted, we can get the feature flags for the user by calling await client.getAllFlags() with their ID. We can then set up the flags and the user ID as window data and include them in our server-rendered HTML.
If your feature flag relies on person or group properties, you need to include them in the
getAllFlags()call so it can evaluate locally. To do this, addpersonPropertiesorgroupPropertiesto the option argument. Your call looks like thisclient.getAllFlags(distinctId, { personProperties: { active: true } })
Bootstrap flags on the frontend
On the frontend, we can check for the user ID and flag data in our index.js file. We can then add this data to the bootstrap property of our PostHog initialization.
Once we’ve done this, rebuild your site again with npm run build and run nodemon server. Open up the site on an incognito or guest window, and we see that the flag returns true on the first load.

This is feature flag bootstrapping working successfully. From here, you can make the flag redirect to specific pages, control session recordings, or run an A/B test on your home page call to action.
Further reading
- How to add popups to your React app with feature flags
- Testing frontend feature flags with React, Jest, and PostHog
- How to evaluate and update feature flags with the PostHog API

Subscribe to our newsletter
Product for Engineers
Read by 25,000+ founders and builders.
We'll share your email with Substack